I have gotten a little stir crazy with all this snow here on the east coast. The good thing about being snowed in is that I've tackled a few projects that I've been wanting to try. I know....I'm probably the last person on earth to decoupage, but none the less, I have now done it. It was so easy and I'm really happy with the results. I've been working on so many different rooms in my house lately. I have sewing projects in the works for my office/craft room and my master bedroom. I'm recently reorganized my kid's playroom and desk area also. I've been sort of all over the "map."

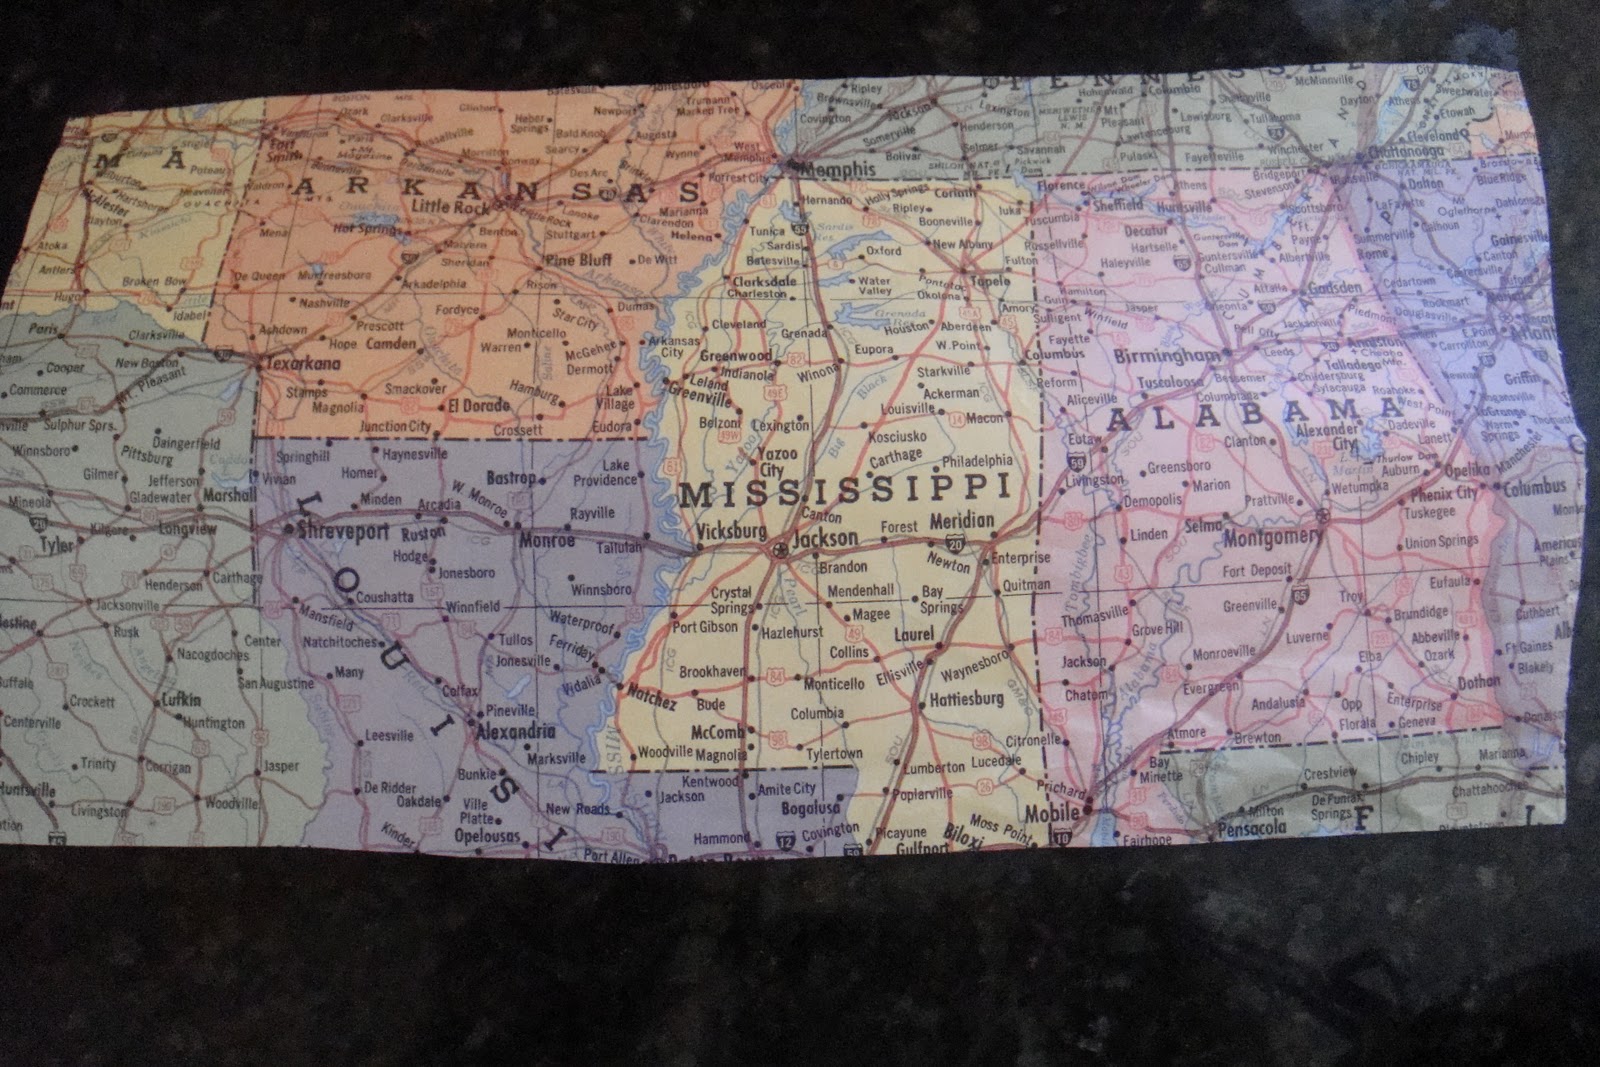
Mod Podge is my new friend. I decided that I would take some Dollar Tree glass vases and cover them in some map pieces that I had. The map started out as a whole piece of art work on the wall and my kids tore it down while playing and that was the end of that. My oldest son is really into geography and I decided to keep a global theme going in the playroom desk area to keep him interested and inspired to learn more about the world. So, I pulled out the torn map, cut my pieces to size and used my new best friend to decoupage the maps to the vase. I figured this would be a great pencil holder. I also found a shorter one that would be great for other small items like erasers, and craft scissors, or whatever. Lastly, I had a canvas that was left over from another project and I decoupaged that as well for something to hang on the wall.
 |
| Dollar Tree vase that I started with |
 |
| Map cut to size |
And the finished products! What do you think? Not too bad. My son was very excited to get something new to put on his desk. I didn't get around to taking a picture of the finished products in the room, but I am getting around to taking pictures of my home room by room soon, so you'll see eventually.
My decoupage escapades don't end there though. I also covered a small vase for my office/craft room. Here it is from start to finish.
 |
| My fabric of choice found at Jo-Ann Fabrics |
 |
| A bud vase that I've had for about 10 years, probably a dollar store find. |
 |
| The decoupage process, drying on a set of skewers to prevent sticking to the paper towel. |
 |
| The finished product in the room filled with some twigs that I had sprayed white left over from my holiday decor. |
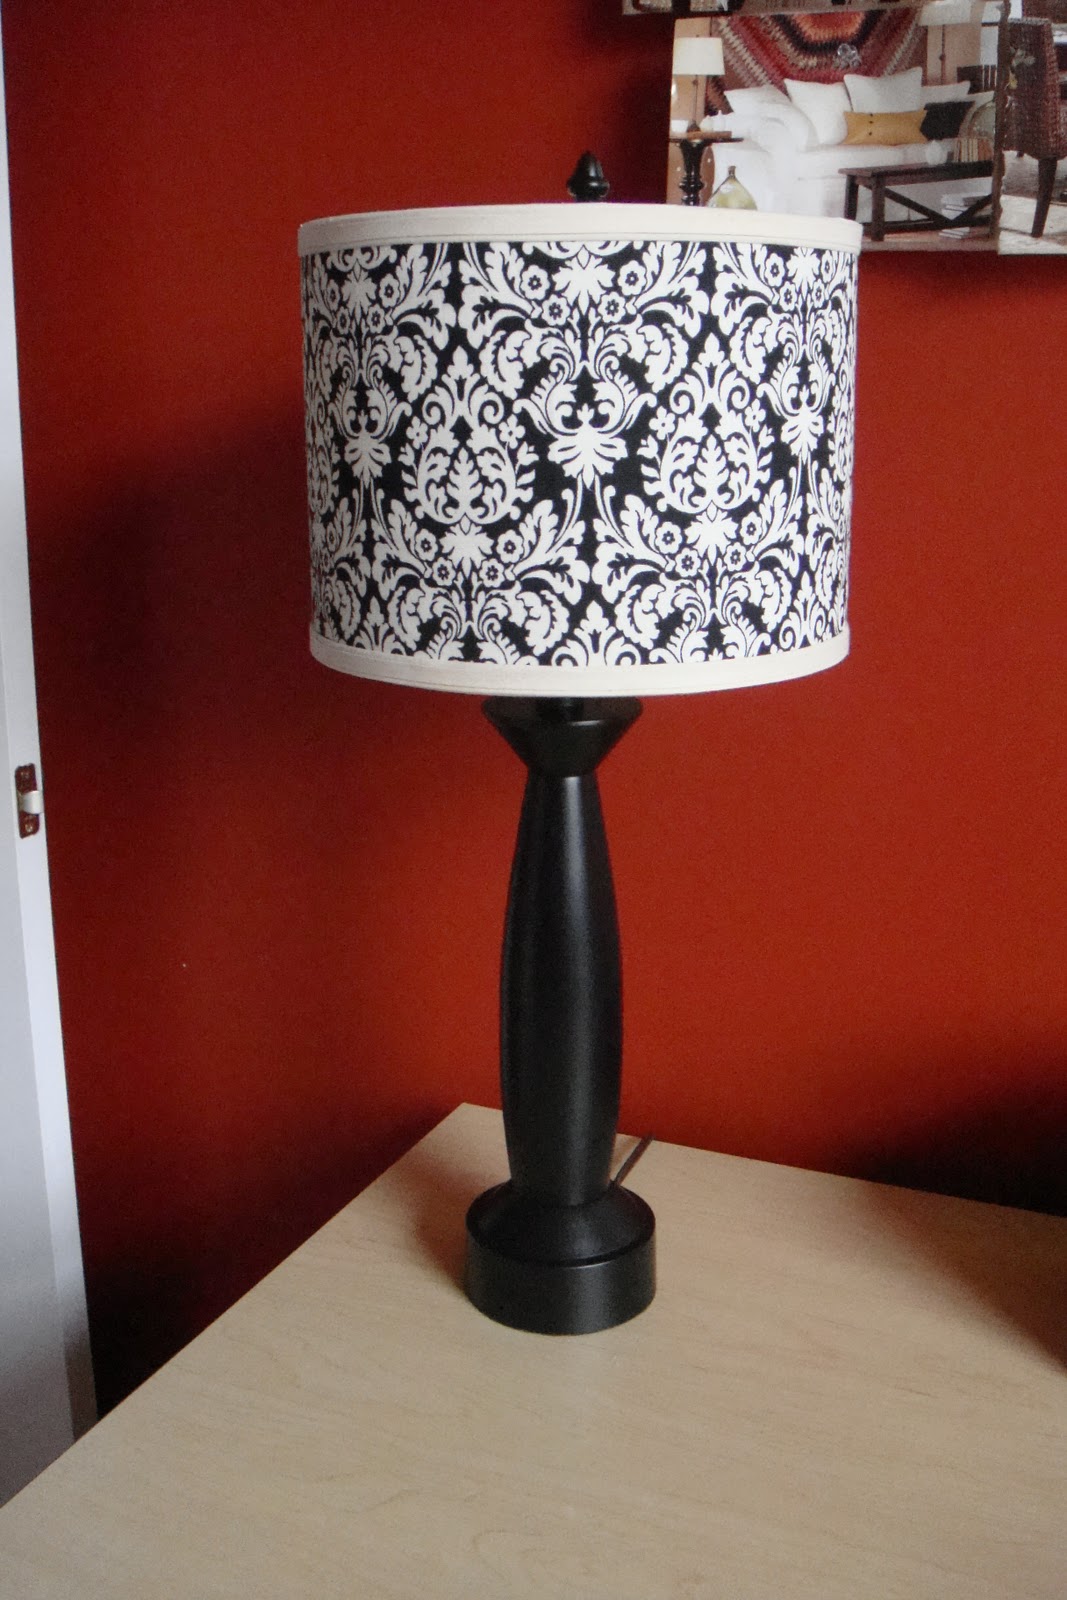
This is the process so far in my office/craft room. The room is red and I've decided to use black and white accents. I covered the lampshade using fabric glue a few weeks ago. I showed the before and after in an earlier post. I really like the direction this room is headed so far. I picked up some fabric from Jo-Ann's and I am going to make panels for the window. I've also had my eye on some Ikea shelving that I am hoping to pick up soon and get that in the room for storage.
Well, I hope that you'll come back to see the finished product. Until then, have a splendid day!
Gina

 Mod Podge is my new friend. I decided that I would take some Dollar Tree glass vases and cover them in some map pieces that I had. The map started out as a whole piece of art work on the wall and my kids tore it down while playing and that was the end of that. My oldest son is really into geography and I decided to keep a global theme going in the playroom desk area to keep him interested and inspired to learn more about the world. So, I pulled out the torn map, cut my pieces to size and used my new best friend to decoupage the maps to the vase. I figured this would be a great pencil holder. I also found a shorter one that would be great for other small items like erasers, and craft scissors, or whatever. Lastly, I had a canvas that was left over from another project and I decoupaged that as well for something to hang on the wall.