About this Blog

This blog is about all things that happen in my New England home and garden....if you are interested in decorating, gardening, cooking and entertaining...then follow me here to get inspired and get creative.
Showing posts with label DIY projects. Show all posts

Tuesday, November 29, 2011

Christmas Craft {Ribbon Art}


Hi everyone,
I’m sharing a really easy art project that I quickly whipped up last night. I’ve seen versions of this out there is blogland and wanted to try my own take on it.
August-Novemeber 2011 006
All I did was take an old piece of artwork that I had and didn’t care for anymore. I took it apart and removed the glass. Then I just inserted a piece of cork that I had and glued that to the cardboard backing of the frame. I placed the matte on top of the cork so that I knew how much space I had to work with, but I didn’t glue it to the cork. I wanted to be able to use the matte again later on if I wanted to at some point without damaging it.
August-Novemeber 2011 005

August-Novemeber 2011 008
Next, I cut my green grosgrain ribbon at my desired lengths and hot glued them in place. Then of course I had to add a little shine because I LOVE this to have a little glitz to it, especially for the holidays. I used small gems (the ones with the flat back) and just glued them on the ends as ornaments. I added a larger one on top for the star. Really easy. Sorry I don’t  have a step by step in pictures, but I’m sure you get the idea.
In other versions of this project, the purpose of the cork was to be able to tack on things, but I just liked the look of the cork because of its color. I don’t plan on tacking anything onto this artwork. I supposed that on a larger scale, this would be great for Christmas cards or even as some sort of advent calendar.
So today is the first of many link parties to come. I’m joining all the parties…hope to see you all there!
Happy Crafting!

Gina
image

Tuesday, October 4, 2011

Fall Craft


I was at Michael’s a few weeks ago and I came across these rub on leaves that I thought were really effortless and easy for a Fall craft this year.
I started with a simple cylinder vase I had.
 Aug-Sept 2011 008
These are the Rub-On transfers that I used…..pretty gold colored leaves.
Aug-Sept 2011 010                    Aug-Sept 2011 009
The idea is really easy. You just cut around the leaf, peel off the backing, and adhere it to your vase. Next, you simply use the wooden stick to rub on the image.
Aug-Sept 2011 011
This is what you end up with. I placed a candle in mine, but some fall cuttings from the garden would also look great in here too.
Aug-Sept 2011 012              Aug-Sept 2011 013
It really doesn’t get easier than that. I am linking up today to :


                                        Fall_Link_Party_Kate1
Have a great Fall day!!!

Gina

Saturday, April 2, 2011

A sneak peak of what's to come

Well, I have been busy, busy trying to get things going on my next project. Last time I gave you a little sneak peek at what I was going to be working on next.


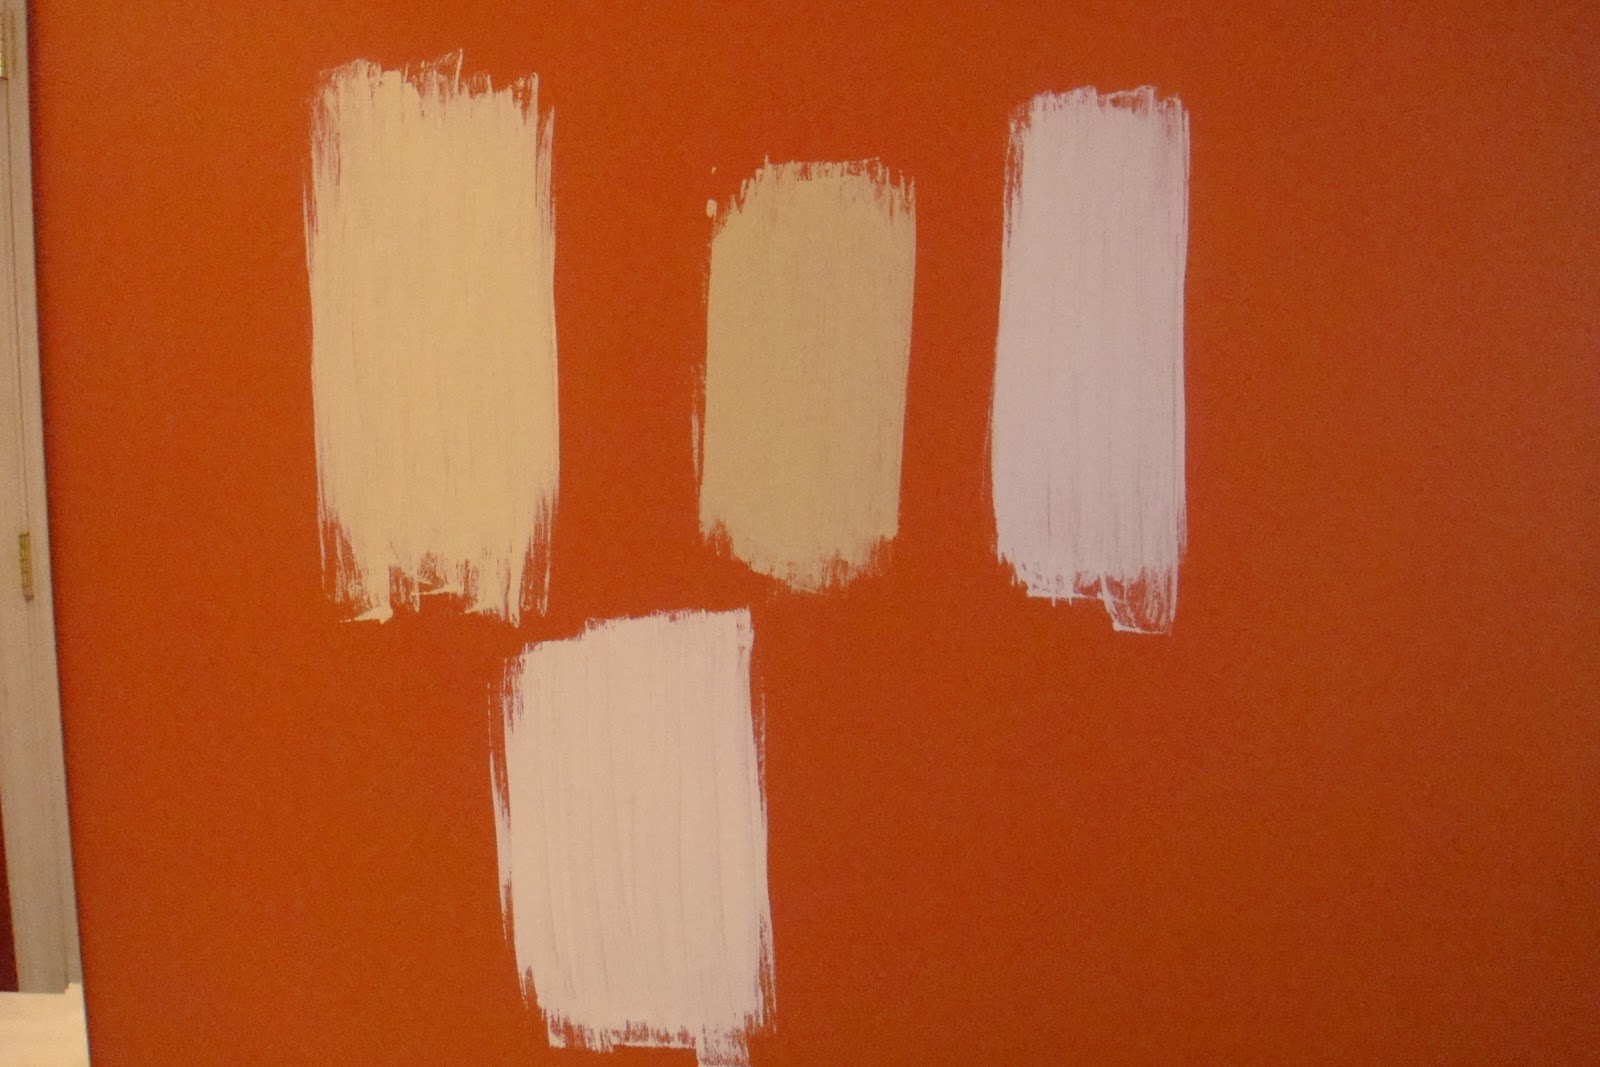
You can see that I was debating on what to do here. Well, for starters, this is my powder room. The paint color used to be a rust color. I've enjoyed it for the last several years, but I've grown tired of it over the last several months and I've been wanting to lighten and brighten the space. I really wanted to try something different than just painting the walls a single color. So, I decided that I would attempt stripes. I wanted to find some examples in order to try and decide how I wanted to approach this venture. So, I've been searching for some inspiration and gathered some great ideas. You can see my ideabook for Houzz here. I will post my finished work next time.

Have a great weekend!

Gina

Saturday, February 26, 2011

Craft Room/Office Reveal

I am really excited to finally be done with my craft room/office. I have been working on getting this room together for a while. When we moved into our home five years ago, this room started out as an office, then we decided to move the desk to the finished basement for the kids and make this room a guest room. The room is small, so a daybed was the only option which was fine. The room remained a guest space until my daughter outgrew her crib last year and we decided to give her the daybed rather than buy another bed for her.
So, once again, the room became fair game for something else. So, after many months of essentially being a hallway between the second floor, and our finished third floor attic, I decided to claim the room as my own!
The best part of the room, other than the energizing color of red that it is, is that it's in the front of the house which faces the south, and it gets a ton of sunlight all day long.
 So, the journey evolved, and little by little I've been adding little touches to complete the space. In a previous post, I showed you how I used this fabric to recover the lampshade on the desk, and also how I used mod podge to cover a bud vase as an accent piece for the space. I once again used this method to recover a melamine tray that I had left over from summer.

Tray Before

Tray After


 I used more of the fabric to make two skinny little runners. I placed one on the desk, and one of my new IKEA Expedit storage shelf. I was debating on what type of storage piece to put in here because there isn't much room except for under the large window. So, after searching for a while for something pretty and practical, I opted for this 8 cube piece from IKEA which was affordable and has enough space for my magazines and books and for any display pieces.

 As you can see the window in this room is very tall. Many people don't know this, but when you have a large palladium (arch) window like this one, you should never hang a curtain rod in the middle of the window. At least this is what I have learned from all the research I've done about windows and designing around them. The curtain needs to extend way above to the top of the arch. This way the window is not "cut in half." It just doesn't look right the other way anyway in my opinion. Anyways....I needed to have a 122 inch long panel, which is really long and expensive to have to order. So, I decided to just jump in with both feet and make my own panels. It wasn't really difficult at all...just ironing the hems all the way around, and sewing a straight line...really easy beginner project. Sorry, no step by step tutorial. I promise that I will get better at doing that sort of stuff. For now, I'm just glad to be sharing all these finished projects!


 Ok...the finally DIY project accomplished in this room is the starburst mirror on the wall. I have seen a ton of these all over blogland, and I really love this look. So, I followed the tutorial that Stephanie Lynn gives on
Under the Table Dreaming, here. I don't know if it was the lighting or what, but the mirror reflection in this picture looks really orange, which make it look even more like an actual sun. Cool huh?


 So, that's my craft room/office....my mom cave...whatever room! I love it and couldn't be happier to have a space to myself to blog, to create, to read, to ENJOY! Have a great weekend!

Gina

Friday, February 11, 2011

Decoupage Madness

I have gotten a little stir crazy with all this snow here on the east coast. The good thing about being snowed in is that I've tackled a few projects that I've been wanting to try. I know....I'm probably the last person on earth to decoupage, but none the less, I have now done it. It was so easy and I'm really happy with the results. I've been working on so many different rooms in my house lately. I have sewing projects in the works for my office/craft room and my master bedroom. I'm recently reorganized my kid's playroom and desk area also. I've been sort of all over the "map."

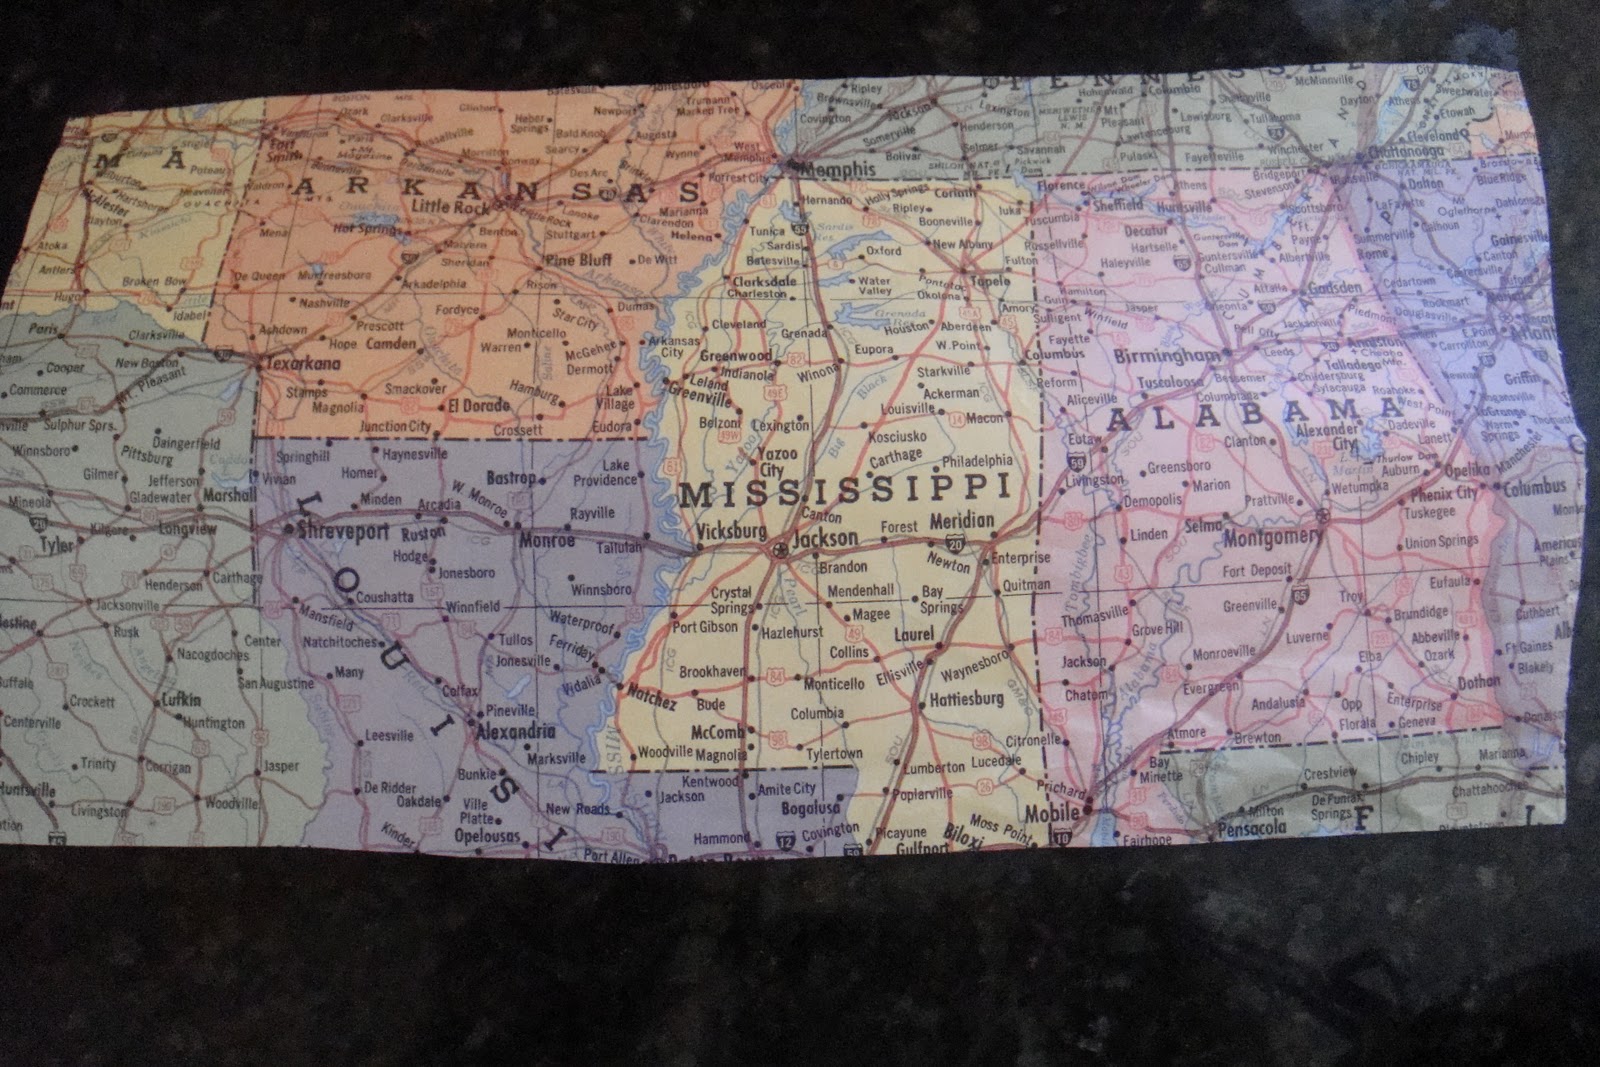
Mod Podge is my new friend. I decided that I would take some Dollar Tree glass vases and cover them in some map pieces that I had. The map started out as a whole piece of art work on the wall and my kids tore it down while playing and that was the end of that. My oldest son is really into geography and I decided to keep a global theme going in the playroom desk area to keep him interested and inspired to learn more about the world. So, I pulled out the torn map, cut my pieces to size and used my new best friend to decoupage the maps to the vase. I figured this would be a great pencil holder. I also found a shorter one that would be great for other small items like erasers, and craft scissors, or whatever.  Lastly, I had a canvas that was left over from another project and I decoupaged that as well for something to hang on the wall.

Dollar Tree vase that I started with

Map cut to size

And the finished products! What do you think? Not too bad. My son was very excited to get something new to put on his desk. I didn't get around to taking a picture of the finished products in the room, but I am getting around to taking pictures of my home room by room soon, so you'll see eventually.
My decoupage escapades don't end there though. I also covered a small vase for my office/craft room. Here it is from start to finish.
My fabric of choice found at Jo-Ann Fabrics

A bud vase that I've had for about 10 years, probably a dollar store find.

The decoupage process, drying on a set of skewers to prevent sticking to the paper towel.

The finished product in the room filled with some twigs that I had sprayed white left over from my holiday decor.

 This is the process so far in my office/craft room. The room is red and I've decided to use black and white accents. I covered the lampshade using fabric glue a few weeks ago. I showed the before and after in an earlier post. I really like the direction this room is headed so far. I picked up some fabric from Jo-Ann's and I am going to make panels for the window. I've also had my eye on some Ikea shelving that I am hoping to pick up soon and get that in the room for storage.

Well, I hope that you'll come back to see the finished product. Until then, have a splendid day!

Gina